
Ideally, getting a business or professional email on your custom domain costs a few box monthly. But in this post I’ll show you how to get a professional email FREE, so you can save yourself the money and improve your email marketing campaign.
I’ll show you more than one method, so you choose for yourself which works best for you.
Without further ado, let’s get to it. Follow the steps below to get a free professional email address.
Create a free Zoho account
Zoho has so many marketing tools but in this case, we want to use the Zoho Mail tool.
On the free plan, you can get free professional email address on just one domain.
As an individual with just one domain, this may just be perfect for you as it saves you money. You may need to upgrade your account if you want free business email on more than one domain.
To get a free professional email, you need to create a Zoho mail account.
In less than 5 minutes, you are done.
After creating an account, sign in and follow the instructions from the setup wizard. Fill appropriately.
Add Domain to Zoho
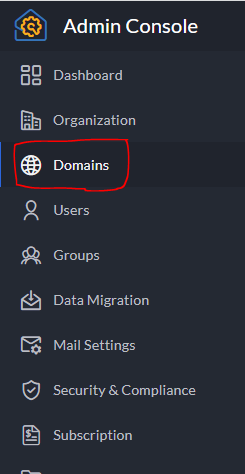
Assuming you are logged in, you should be taken to your admin console panel.
On the Admin Console panel options on the left, find “domain” and click it.
From here, you can either add an existing domain that is active or buy a new one on Zoho.
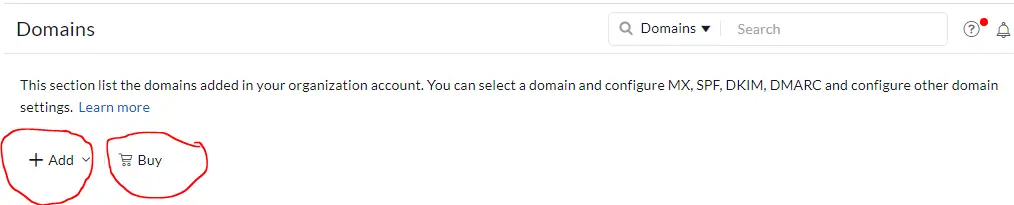
For the purpose of this article, we will use the “add” domain feature rather than “buy”.
Click “add” and you’ll need to verify your domain through TXT file, CNAME or HTML.
Watch this video to further help you to add your domain to Zoho mail:
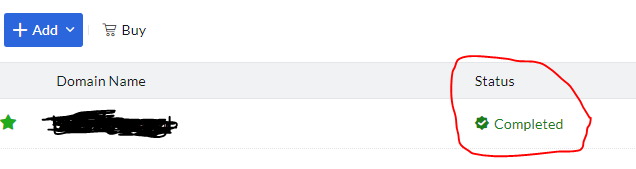
Once you have successfully verified your domain on Zoho, you’ll notice a green checkmark beside the domain just like this:
Configure Mail Settings
After verifying your domain, the next action is to configure your mail settings. To do that, click on domain and you’ll be taken to where to configure mail settings.
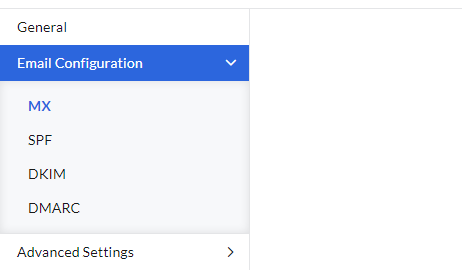
In this section, there are four major elements:
- MX
- SPF
- DKIM
- DMARC
Each must be configured properly for your free business email to function properly.
To configure these settings, you must have access to your DNS.
For each of the above-mentioned records, follow the clear instructions on Zoho to add each of them to your DNS records.
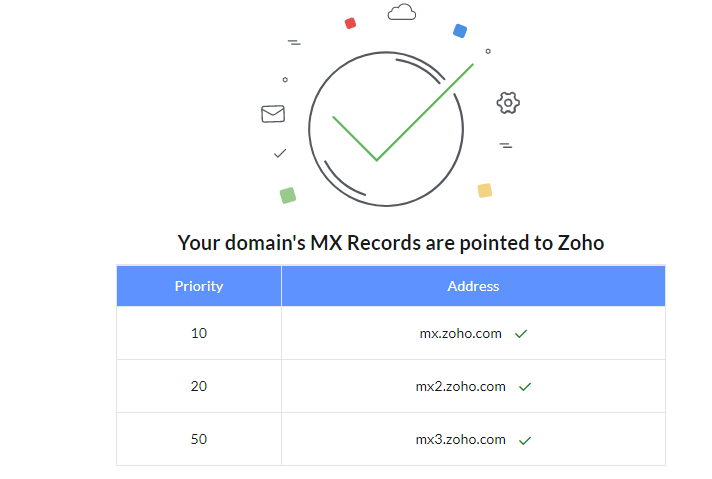
If, for example, your MX record is properly configured, you should see this:
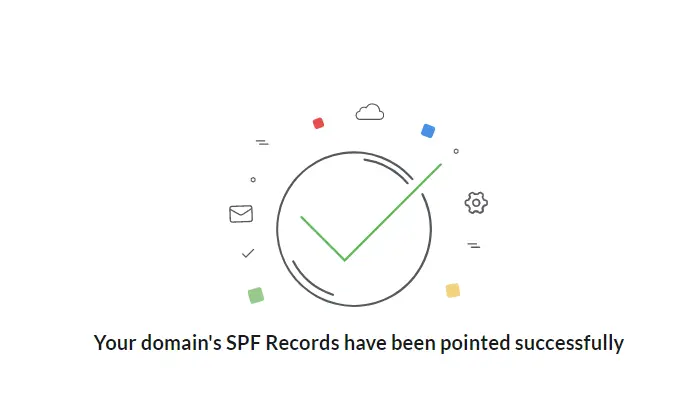
For SPF, you should see this:
DKIM:
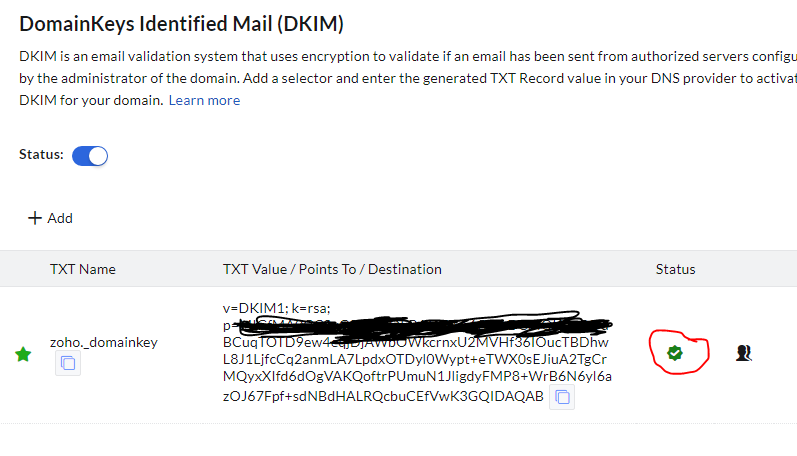
DMARC:
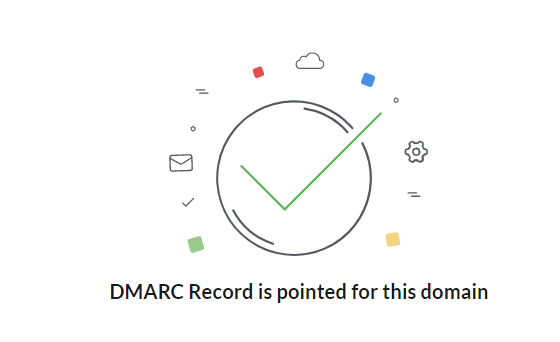
To reiterate, follow the instructions on Zoho to properly configure these and add the records in your DNS. It is very easy to do.
Sometimes, you may need to wait for some minutes before configuration can be verified.
If you are ever confused about any steps, watch this video to set it all up with ease:
What to keep in mind
- You’ll need to delete any existing MX record in your DNS before you can add Zoho’s MX record. Same applies to SPF
- Ideally, DNS records should be verified in a few minutes, however, it sometimes takes long. If verification fails, check if the correct records are added.
- In case you monetize your site with Ezoic, and integrated via Cloudflare, you can add the above records on Ezoic through the DNS settings.
Test Email
Once all email settings are well configured as shown above, your free business email should working.
Conclusion
As you may have found out, it is quite easy to get free business email with Zoho.
You may also download the Zoho mail mobile app to get the best experience on your smartphone.
All in all, Zoho’s email service is pretty cool and it saves you money.
